Publishing 🚧
Dendron lets you publish the contents of your vault, either in its entirety or only a subset. Notes are published under the dendron-jekyll theme.
Features
Nested Hierarchies
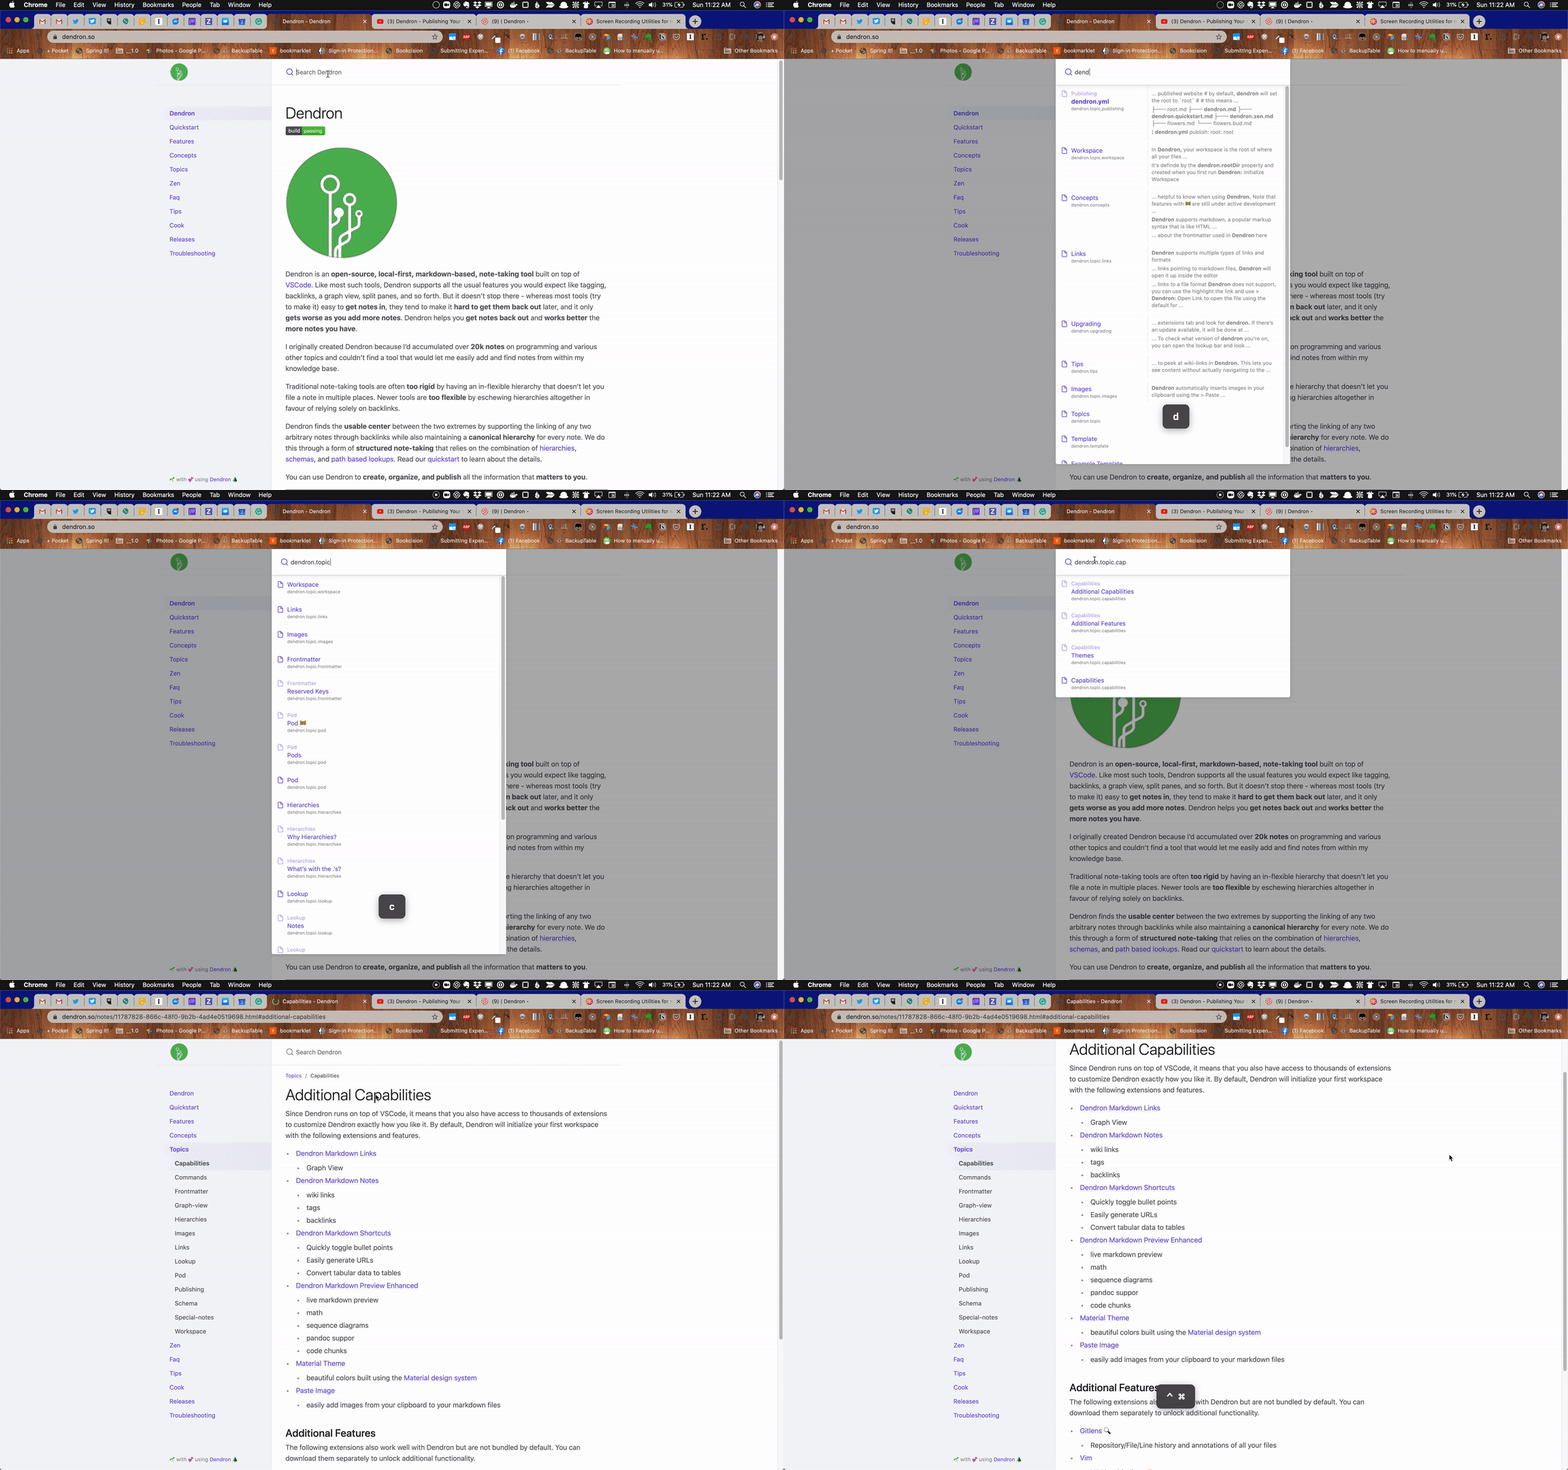
dendron-jekyll supports the same nested hierarchies as your notes and allows you to navigate via the sidebar.

Lookup
If you’d rather not click, dendron-jekyll also supports path based lookup.

Permanent Ids
Every page is published using its unique ID which means that urls will never change, even if the filenames do.

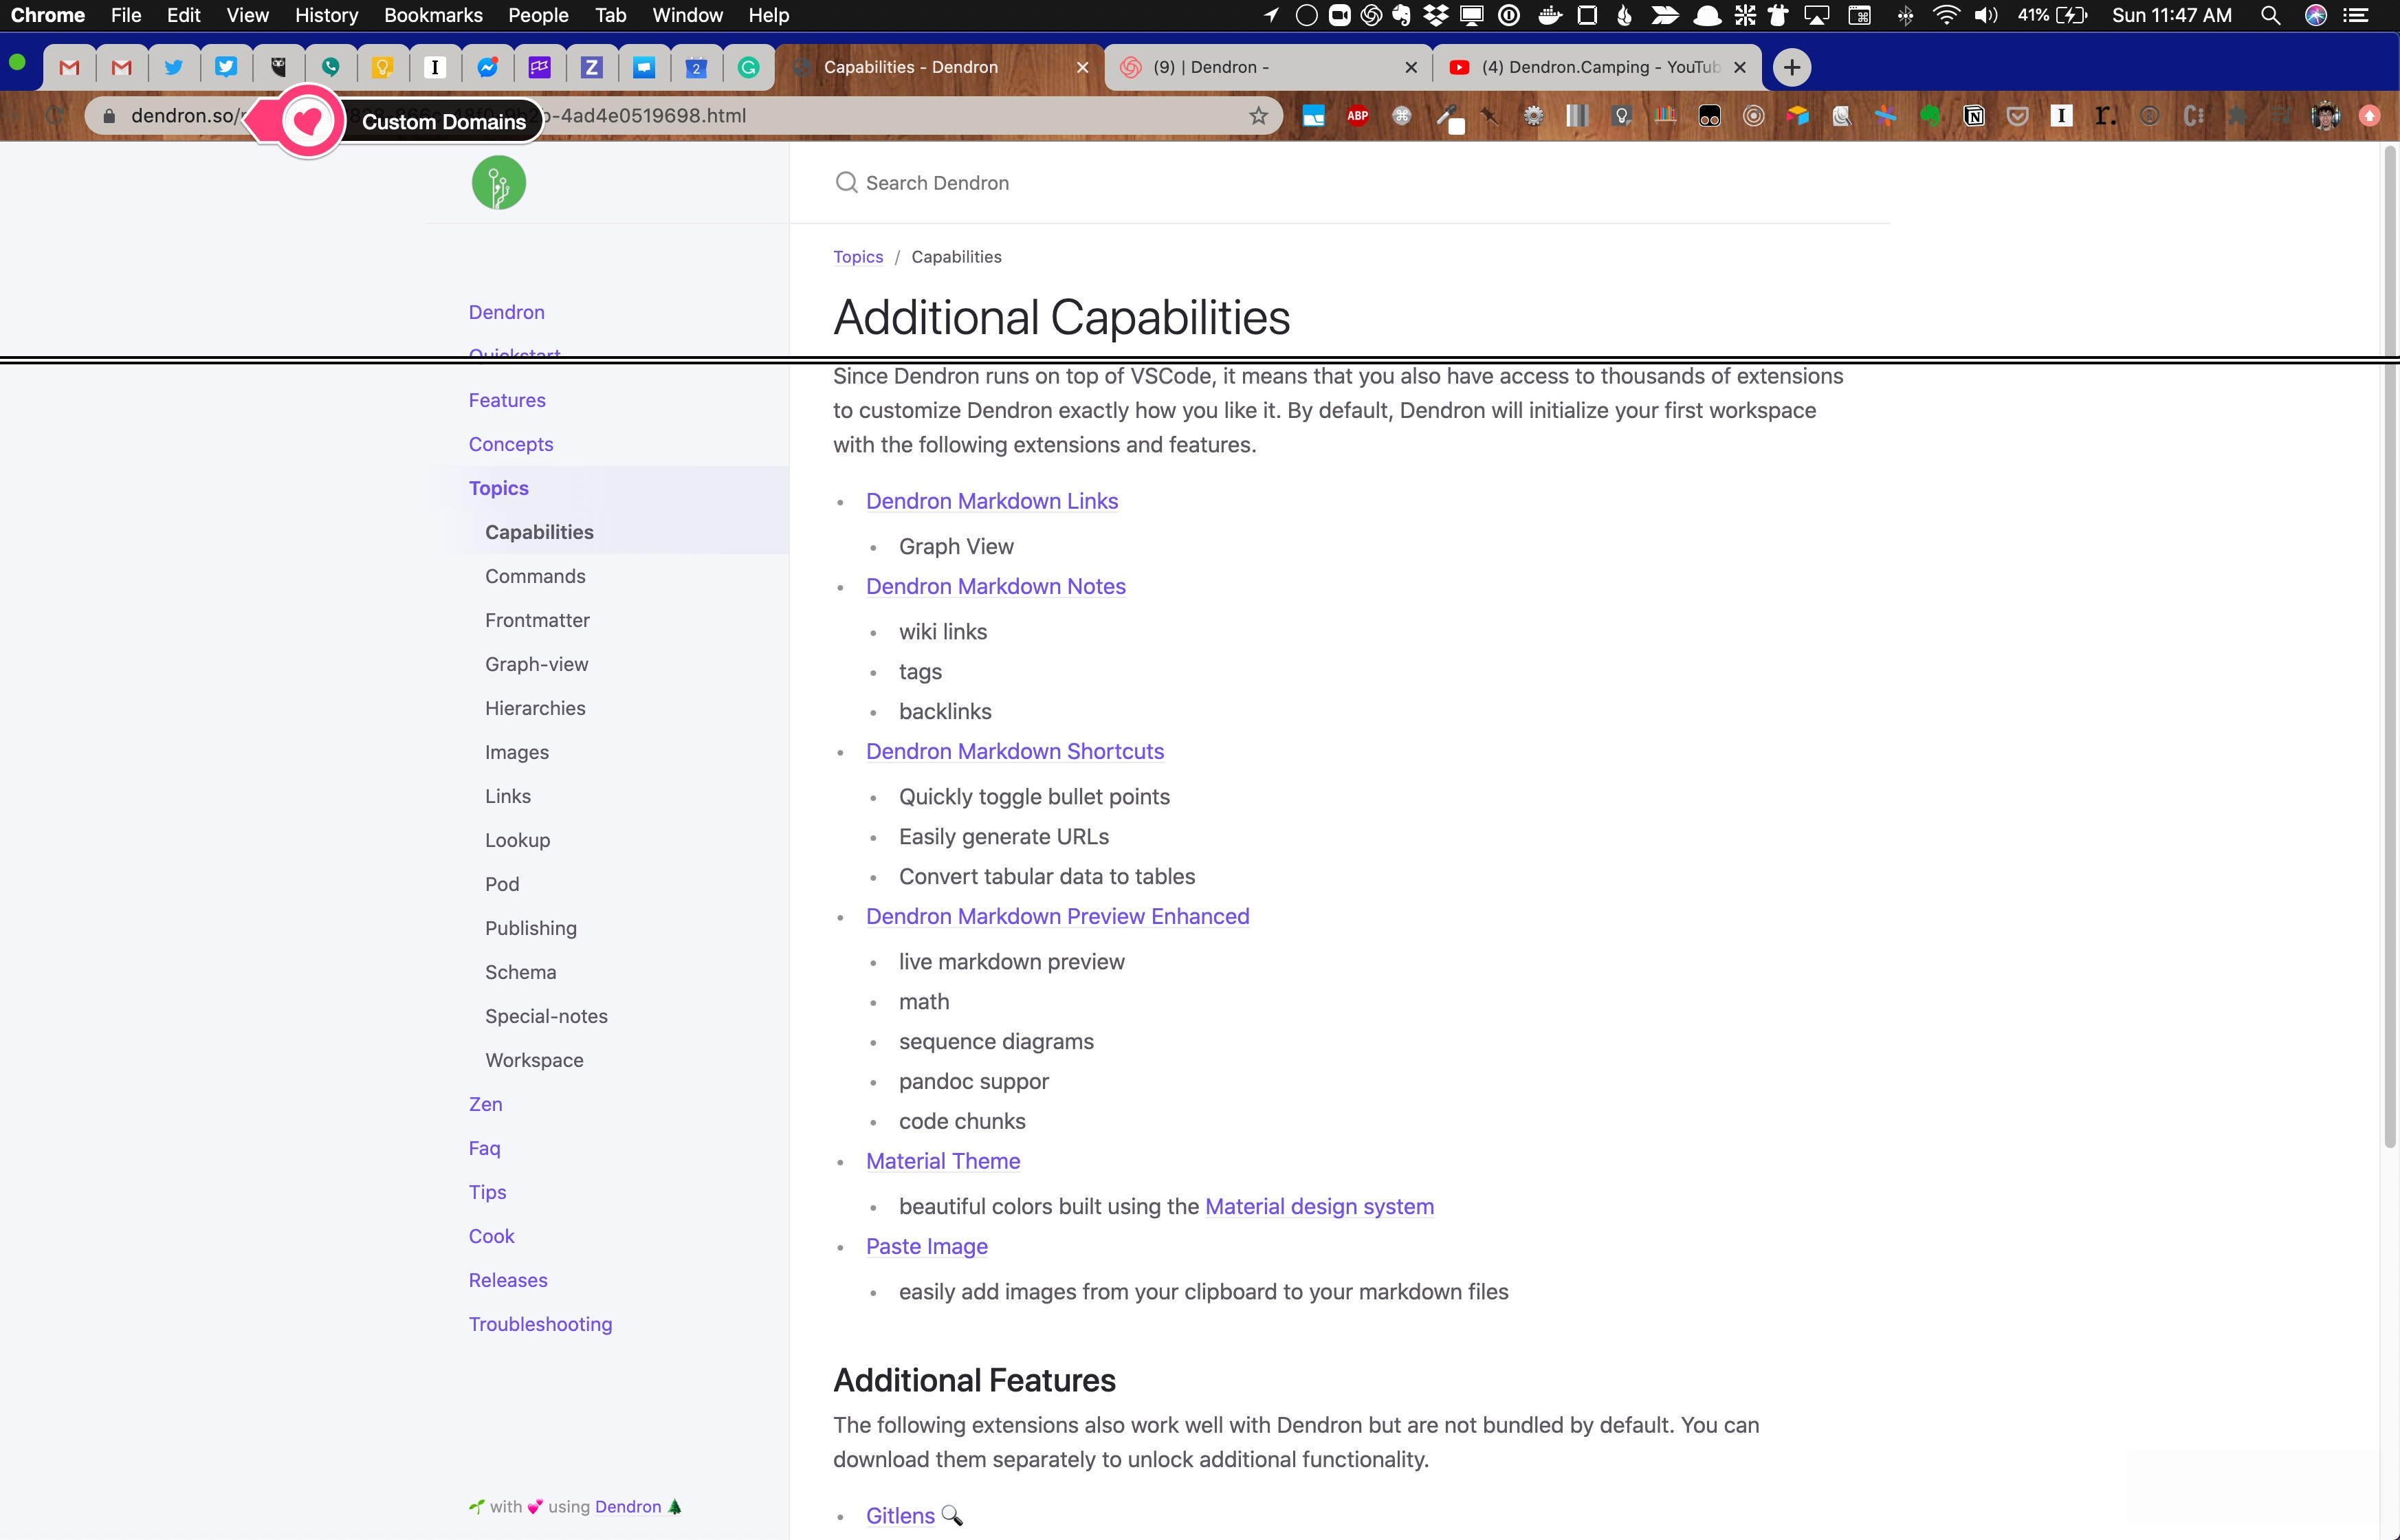
Free hosting, custom domain names and SSL Certs
If you have a free github account, then you can host your Dendron notes for free using github pages

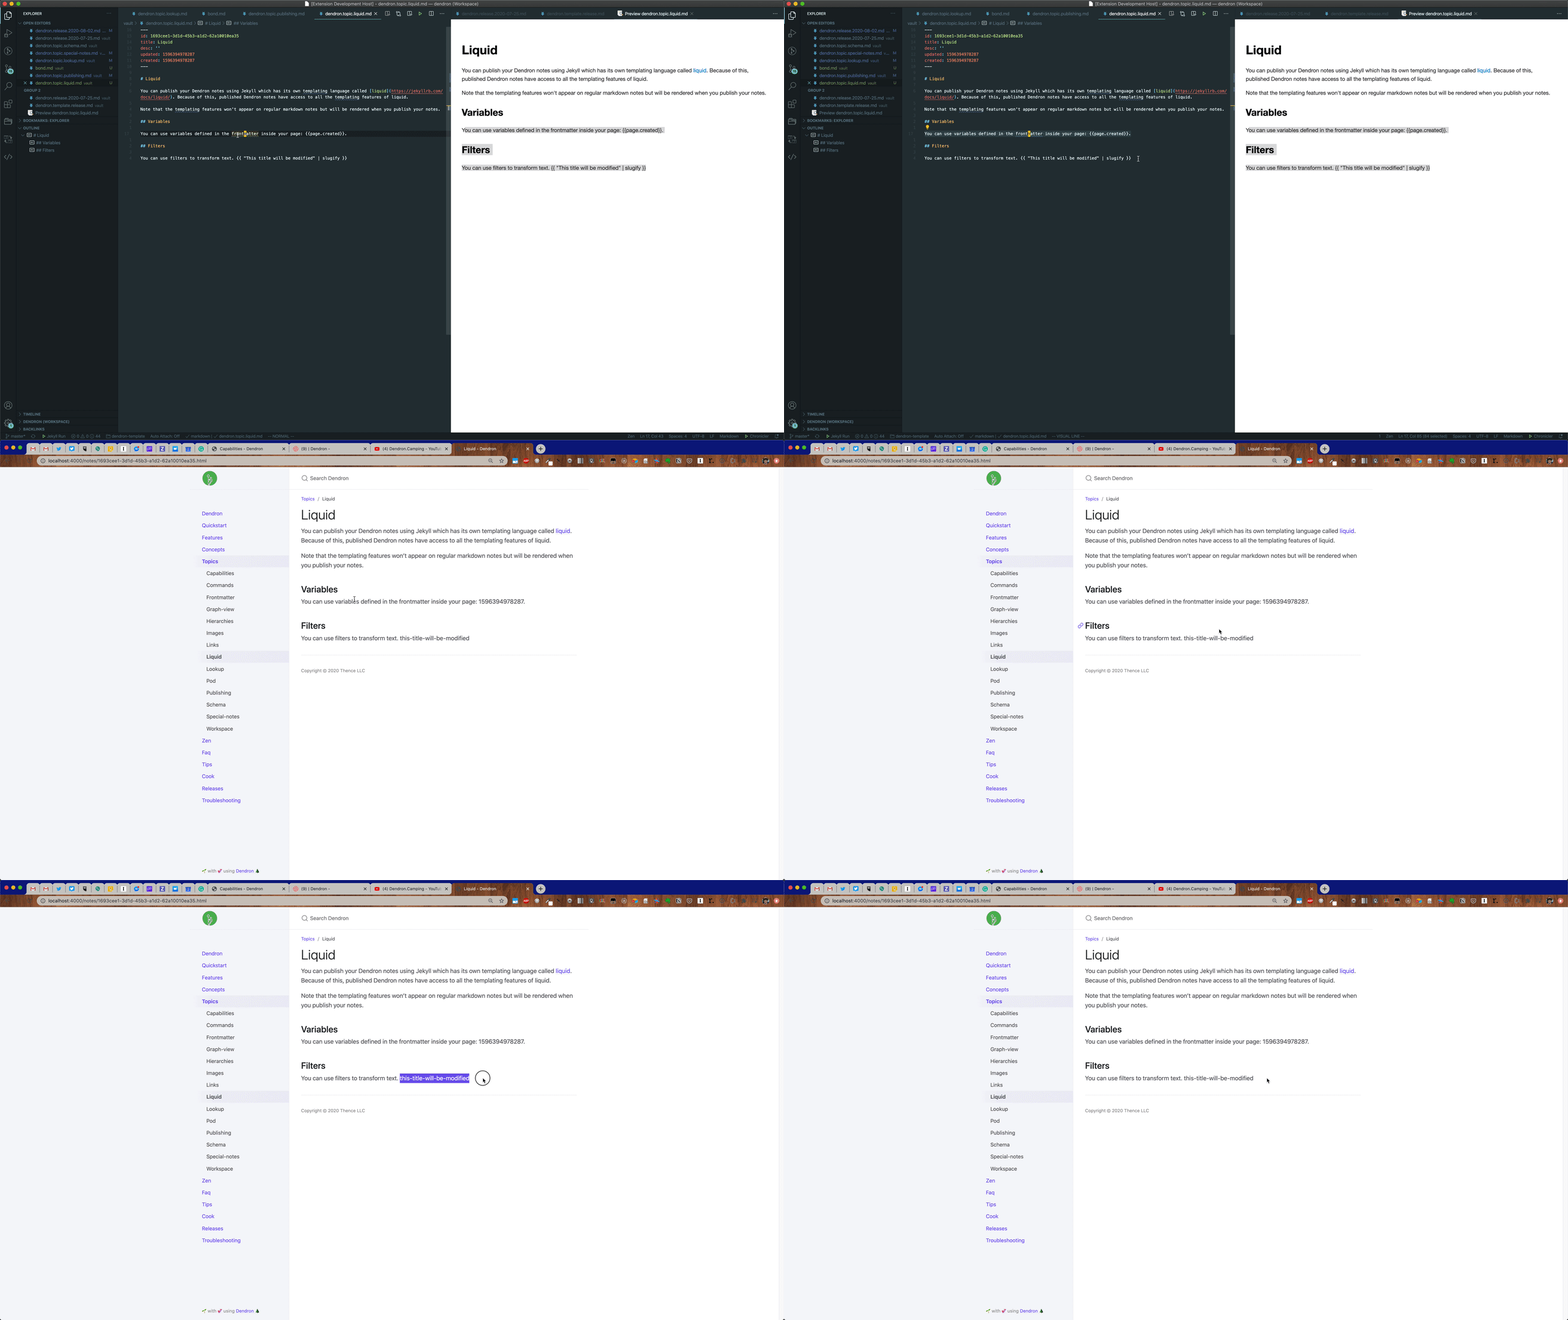
Jekyll Liquid Tags and Variables
You can find the docs on this under liquid
- NOTE: this will only be “compiled” in the published site but won’t be rendered in the regular markdown

Selective Publication
You can choose to publish your whole vault, a single domain, or multiple domains within your vault.
NOTE: It is not currently possible to publish multiple domains. If you would like this feature, you can vote for it here
dendron.yml
This config file controls what gets published. It is located at the root of your workspace. Below is a sample config.
site:
  # the note that will serve as the root of your published website
  # by default, dendron will set the root to `root`
  #
  # this means the contents of `root.md` will be set as your home
  # page and that all the contents # of your vault will be published
  #
  # you can change the root to a specific `domain`
  # this will set that `domain` as the home page
  # and publish everything under that domain
  noteRoot: home
  # specify domains that you want to publish
  noteRoots: [home, books]
  # there's usually a built step before publishing your site
  # eg. converting your markdown files into jekyll-compatible
  # markdown files
  #
  # this controls where the new documents will be published
  siteRoot: docs
Example publishing entire vault
- vault
. ├── root.md ├── dendron.md ├── dendron.quickstart.md ├── dendron.zen.md ├── flowers.md └── flowers.bud.md - dendron.yml
publish: root: root - what gets published
.
└── root.md
    ├── dendron
    │   ├── dendron.quickstart
    │   └── dendron.zen
    └── flowers
        └── flowers.bud
Example publishing just one domain
- vault
. ├── root.md ├── dendron.md ├── dendron.quickstart.md └── dendron.zen.md - dendron.yml
publish: root: dendron - published:
.
└── dendron
    ├── dendron.quickstart
    └── dendron.zen
Steps
Pre-requisites
- Make sure you have a
docsfolder insidedendron.rootDir.- If you’ve created your workspace using
Dendron: Initialize Workspaceon 0.4.2 or later, this is already done - If you’ve created your workspace before
0.4.2or have manually created your workspace, you can runDendron: Doctorto create this folder /pages/)
- If you’ve created your workspace using
- Setup a github repo with github pages enabled
- when selecting the source, make sure to pick
master branch/docs folder
- when selecting the source, make sure to pick
- Create an initial commit and push your vault to your github page
Guide
- Depending on what notes you want to publish, you will want to update your
dendron.ymlfile. By default, everything will be published - Update the contents of
_config.ymlinside yourdocsfolder to specify site wide configuration like logo and title.- NOTE: this is located relative to
dendron.rootDir - if you do not have a
docsfolder, you can runDev:Dendron: Doctorto create one
- NOTE: this is located relative to
- When you are ready to publish, run the
> Dendron: Build Podcommand to prepare your site for publication. This builds your notes into thesiteRootdirectory which defaults todocs.Build Poddoes the following when it builds your site:- copies over the notes specified in
dendron.yml - creates a copy of your notes with the ids in place of the file names
- updates all
wiki-linkstomarkdown-linksso Jekyll can process it, preserving titles if there are any
- copies over the notes specified in
- Commit your changes.
- Push your repository using
> Git: Push
Advanced
Exclude from publication
To exclude a page from publication, you can add the following to the frontmatter:
...
published: false
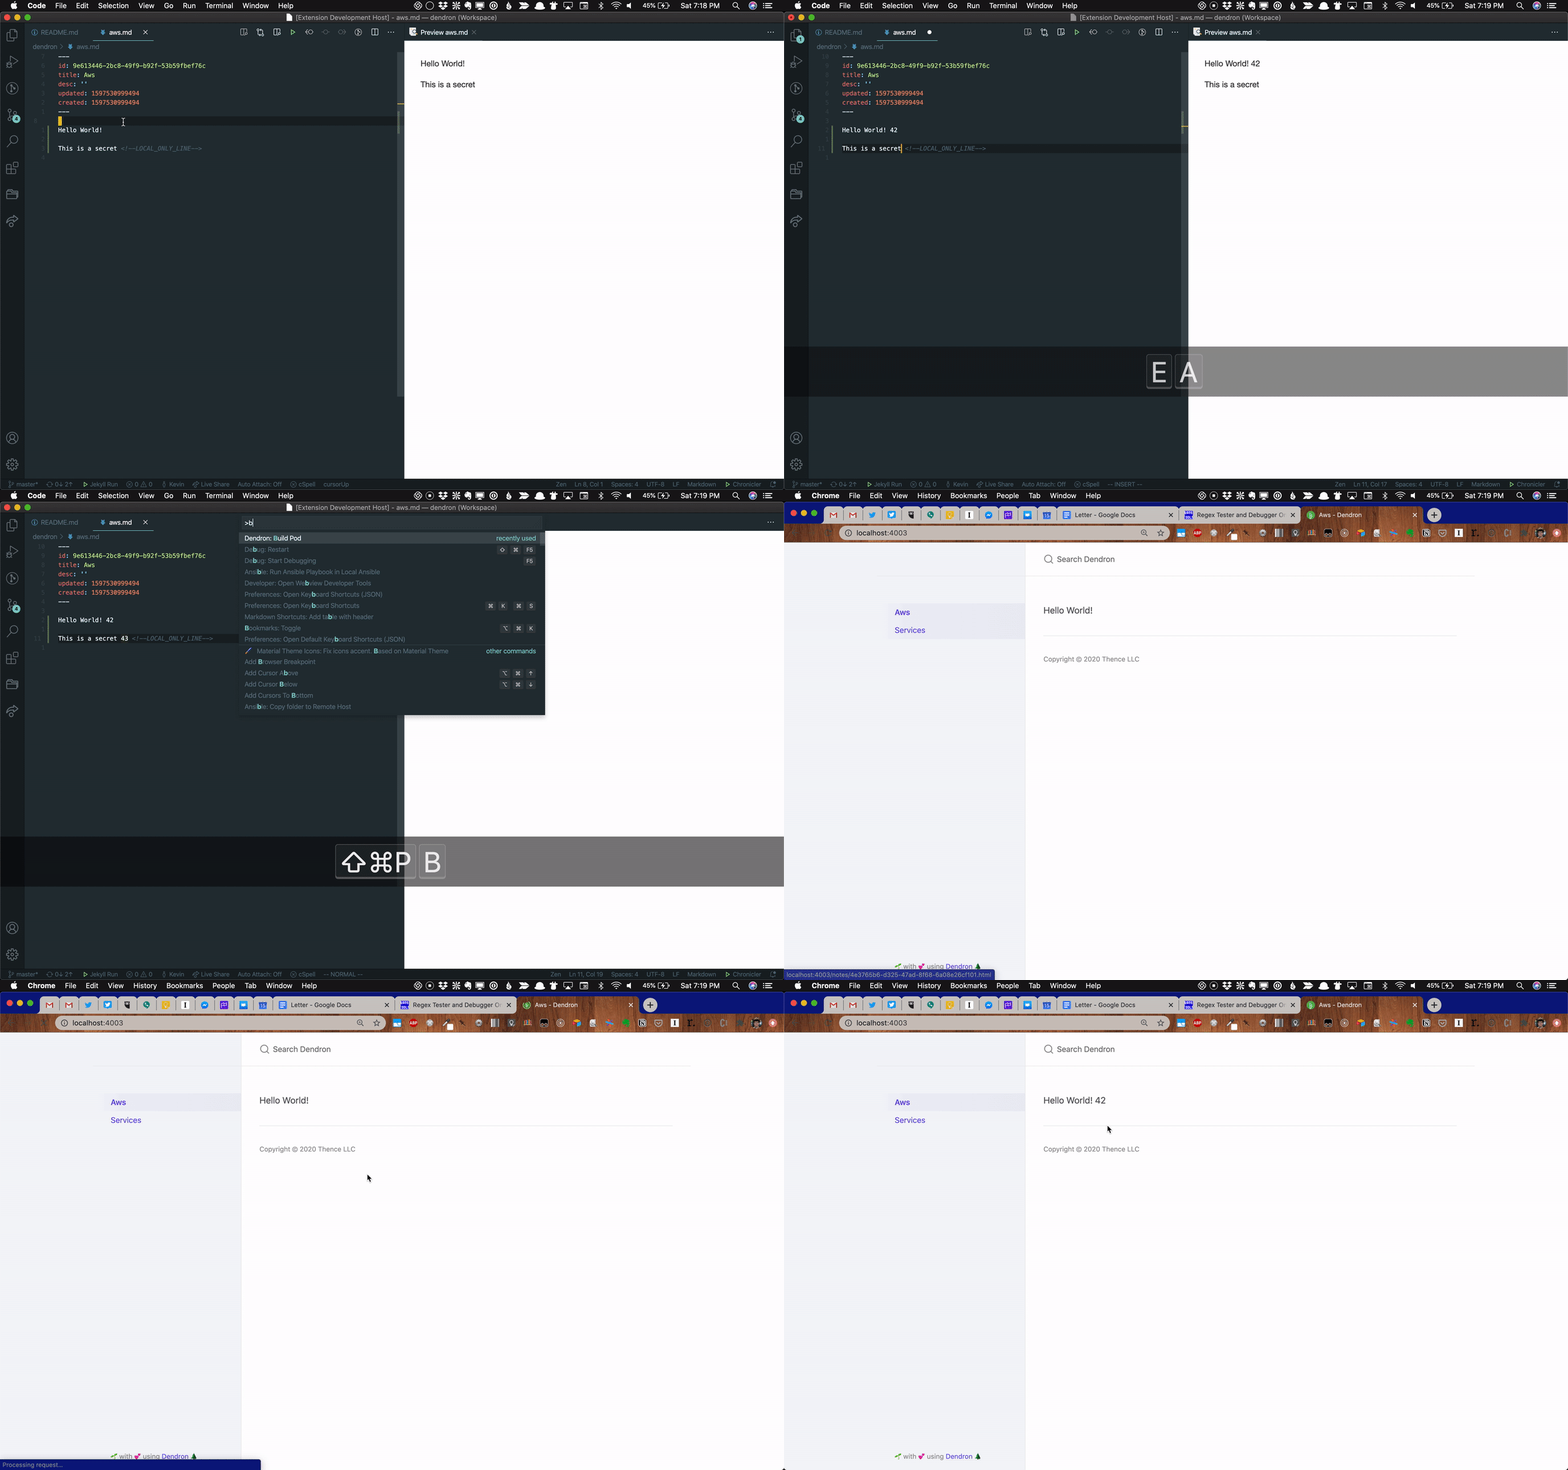
Exclude line from publication
`
Hello World!  <!-- Will be published -->

 <!-- won't be published -->

